To install WordPress on any hosting platform, follow these steps:
- Sign Up for Hosting: Choose a hosting provider that meets WordPress's minimum requirements. Ensure the hosting plan supports PHP and MySQL.
- Create a MySQL Database: In your hosting control panel, create a new MySQL database. Note the database name, username, and password.
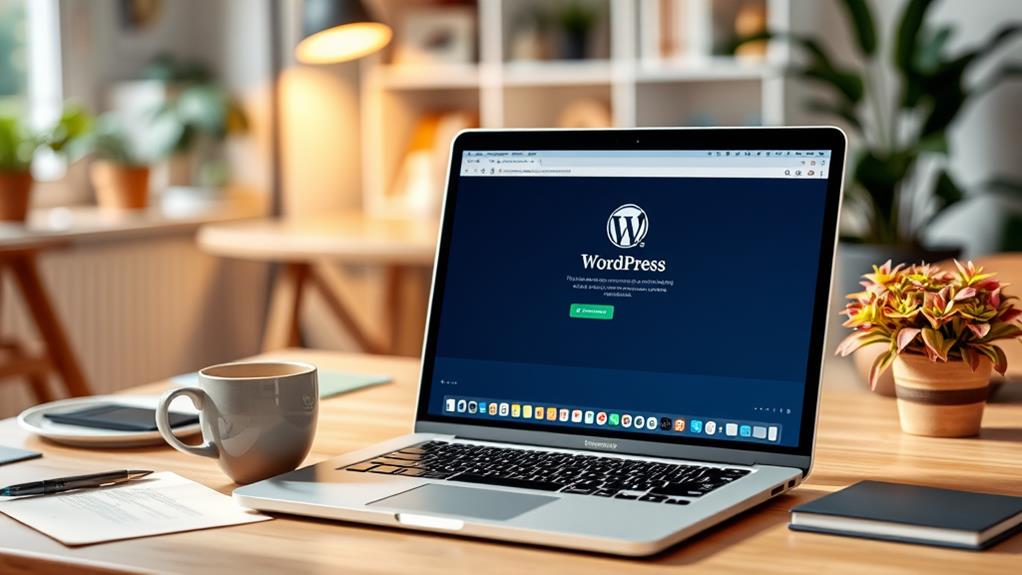
- Download WordPress: Visit the official WordPress website and download the latest version of WordPress.
- Upload WordPress Files: Unzip the downloaded WordPress package and upload the contents to your hosting account's 'public_html' directory. Use FTP or the hosting provider's File Manager for this task.
- Access the Installation Script: Open a web browser and navigate to 'yourdomain.com/wp-admin/install.php'. Replace 'yourdomain.com' with your actual domain name.
- Configure the Database: When prompted, enter your database details, including the database name, username, and password. Follow the on-screen instructions to complete the setup.
- Complete the Installation: Follow the remaining steps provided by the WordPress installation script. This will include setting up your site title, admin username, password, and email.
- Log Into the Dashboard: After installation, log into your WordPress dashboard using the admin credentials you set up.
- Adjust Site Settings and Install Plugins: Explore the WordPress dashboard to configure your site settings according to your needs.
Consider installing essential plugins to enhance your website's functionality and security.
Remember to choose a strong password for your admin account and keep your WordPress version and plugins updated to maintain a secure website.
Overview of WordPress
WordPress is a versatile content management system (CMS) ideal for creating websites, including personal blogs, business sites, and online stores. It dominates the CMS market, powering nearly 59% of websites using such systems globally. Its popularity stems from its intuitive interface, enabling users to create and manage content without extensive technical expertise.
WordPress offers an extensive library of themes for customizing websites to match specific styles or purposes, with options ranging from free to premium. Additionally, it supports a wide array of plugins, allowing users to enhance their sites with features like SEO tools and eCommerce functionalities.
For enhanced security, opting for a manual installation of WordPress is advisable when working with hosting providers, as opposed to automated installations provided by some services.
WordPress's flexibility and comprehensive toolset cater to both novices and seasoned users, providing the essentials for constructing a successful website.
Installation Requirements
To install WordPress, certain prerequisites must be met.
A hosting account is required to host your website files, and a domain name is necessary to establish your site's online identity.
Familiarity with database operations is essential, and your server must support PHP and either MySQL or MariaDB.
Necessary Hosting Specifications
Setting up your WordPress site requires meeting specific hosting specifications to ensure a smooth installation. Verify that your hosting provider supports:
- PHP version 7.4 or higher
- MySQL version 5.7 or higher, or MariaDB
Access to a database management tool like phpMyAdmin is essential for creating and managing the MySQL database required by WordPress. This tool facilitates database setup and necessary tasks.
Ensure your hosting plan includes sufficient disk space and bandwidth to accommodate your website's needs. Opting for WordPress Hosting plans is advantageous, as they're often optimized specifically for WordPress.
Familiarity with File Transfer Protocol (FTP) or Secure Shell (SSH) is beneficial for efficiently uploading WordPress files to your hosting account.
Domain Name Selection
Selecting a domain name is vital for establishing your online presence, serving as your website's address. Choose a name that's short, memorable, and relevant to your brand or business for easy recognition and recall.
Verify the domain name's availability using tools like WHOIS to ensure it isn't already in use. If available, proceed to the next step.
Register the domain name through a registrar, which typically costs between $10 and $20 annually. Select an appropriate domain extension (TLD) that aligns with your target audience, such as .com for commercial sites or .org for non-profits.
After selecting the domain name and TLD, complete the registration process by providing the required information to the registrar and paying the associated fee.
Once these steps are completed, your domain name is secured, forming the foundation for your WordPress website.
Database Understanding Essentials
Creating a MySQL database is crucial for WordPress installation, as it houses all website content, including posts, pages, and user data. This process involves several key steps:
- Database Name Selection: Choose a unique identifier for your database.
- Username Creation: Establish a user who'll access the database.
- Password Strength: Assign a robust password to protect against unauthorized access.
- Privilege Assignment: Grant full privileges to enable comprehensive interaction between WordPress and the database.
- Configuration File Update: Input the database credentials into the 'wp-config.php' file to facilitate connection.
Accurate setup of these details is vital for seamless operation.
Utilizing tools like the MySQL Database Wizard can streamline the process. A secure password is paramount for database protection.
With proper configuration, WordPress can efficiently manage and retrieve your website's content. Attention to detail during this phase is crucial.
Downloading WordPress
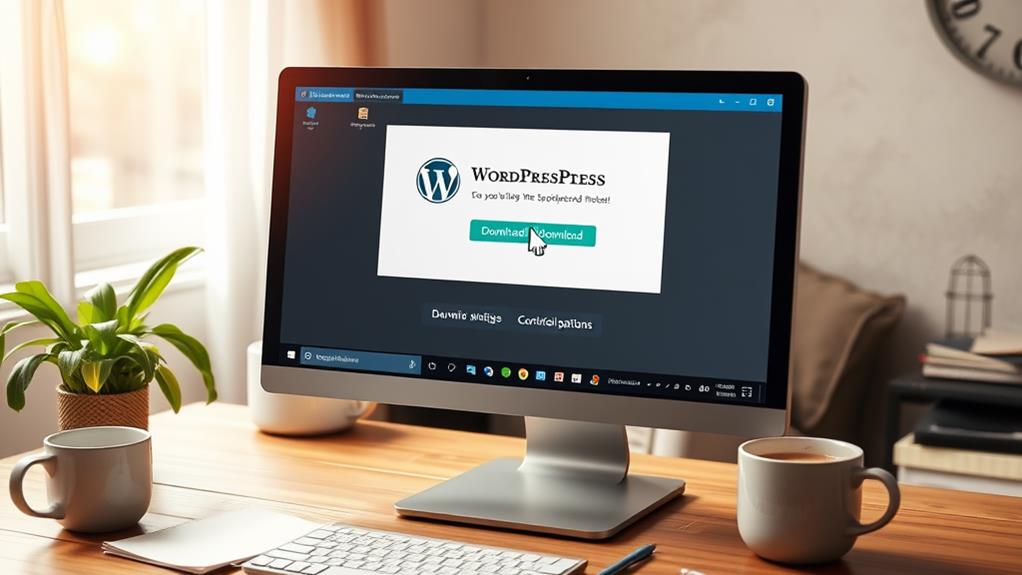
Downloading WordPress involves visiting the official website at https://wordpress.org/download/ and obtaining the latest version, which includes crucial updates and features.
After downloading the package, unzip the .zip file to create a folder titled "wordpress." This folder contains essential installation files, including wp-config-sample.php and wp-login.php, required for the installation process.
To prevent potential issues, verify that you have downloaded the most recent version by checking the version number on the WordPress download page.
Setting Up the Database
To configure your WordPress database, you need to create a new database and a user in cPanel.
Assign a unique name to your database and ensure the user has full access privileges.
Use a strong password to secure the database.
Database Creation Steps
Before building your WordPress site, set up a MySQL database to store content and settings. Follow these steps:
- Log in to your cPanel account.
- Use the MySQL Database Wizard to create a new database.
- Enter a database name and click "Next Step."
- Create a database user with a username and strong password for security.
- Assign the user to the database, granting "All Privileges" to ensure WordPress can access and modify the database.
Record the database name, username, and password for the WordPress installation process.
Modify the default table prefix for added security against common attacks.
These steps establish a solid foundation for your WordPress site's content management.
User Privileges Assignment
After configuring your MySQL database, the next crucial step is to effectively manage user privileges by creating a database user and assigning appropriate permissions. This is vital for database management, and using the MySQL Database Wizard in cPanel simplifies this process, helping to prevent errors that could lead to future issues.
When creating a user, it's imperative to grant "All Privileges," which provides comprehensive access to the database, enabling the user to perform all necessary actions for your WordPress installation. However, it's essential to align user privileges with their specific role; for instance, an admin account should have unrestricted access, whereas an employee account might require limited permissions.
Ensure to securely document the database username and password, as these credentials are essential during the WordPress installation to establish a connection to your database. Properly setting user privileges not only enhances database security but also preserves the integrity of your website's content.
Dedicating adequate attention to this step ensures that your WordPress site operates efficiently. Careful management of these settings establishes a robust foundation for your website's functionality and security.
Secure Password Practices
Securing your WordPress database is crucial for safeguarding your website against unauthorized access, and a robust password is essential. Your password should comprise a mix of uppercase and lowercase letters, numbers, and special characters, totaling at least 12 characters.
To enhance your database security, follow these guidelines:
- Utilize a password generator to create complex passwords.
- Document your database password and keep it in a secure location.
- Alter the default database prefix from 'wp_' to a unique identifier.
- Periodically update your database password to maintain security.
- Ensure your database password differs from your WordPress admin panel password.
Implementing these password practices significantly increases the difficulty for attackers to infiltrate your database.
The database password is critical during the WordPress installation, so ensure it's accessible. Modifying the database prefix also fortifies your site against SQL injection attacks.
By adhering to these recommendations, you bolster your site's defenses, allowing you to concentrate on content creation without the constant worry of potential security breaches.
Prioritizing security ensures your WordPress site remains protected from threats.
Uploading WordPress Files
Uploading WordPress files is crucial for launching your website. Three methods are available: FTP, File Manager, and SSH.
For FTP, download software like FileZilla, connect to your hosting account, and transfer the "wordpress" folder contents to the public_html directory, excluding the folder itself.
Using File Manager, log into your hosting control panel, locate the correct directory, find the upload feature, and upload the WordPress files directly.
Ensure the WordPress package is unzipped before uploading. After uploading, verify that all necessary files are present in your directory to prevent installation issues.
Confirm that every file has been uploaded properly to avoid incomplete installations and subsequent problems.
Running the Installation Script
To initiate the WordPress installation, navigate to the URL where the WordPress files are uploaded, typically https://yourdomain.com/wp-admin/install.php or https://yourdomain.com/blog/wp-admin/install.php for subdirectory installations.
If the wp-config.php file is absent, input the database details including the database name, username, and password.
Proceed by completing the following required fields:
- Site Title
- Username
- Password
- Email address
- Search engine visibility settings
These details are essential for accessing and managing your WordPress dashboard.
Click the "Install WordPress" button to execute the installation script. Upon successful installation, a confirmation screen will appear.
Post-installation, the visibility settings for search engines can be adjusted as necessary.
This process effectively lays the groundwork for your new website.
Troubleshooting Common Issues

Troubleshooting Common WordPress Installation Issues
- Database Connection Error
- Verify database credentials in the wp-config.php file
- Ensure credentials match those set up in cPanel
- White Screen of Death
- Access site via FTP
- Rename plugins folder to disable all plugins
- Identify problematic plugin
- Server Requirements
- Confirm server meets minimum PHP and MySQL requirements for WordPress
- Update outdated versions to prevent installation issues
- Headers Already Sent Errors
- Check for extra spaces or new lines before the '
- Remove any extra characters to avoid disrupting PHP output
- File Permissions
- Set file permissions to 644 for files and 755 for directories
- Proper permissions allow server to read files correctly
Post-Installation Steps
After completing the WordPress installation, follow these essential steps to set up your site effectively:
1. Log in to your WordPress dashboard by visiting YOURDOMAIN.com/wp-admin and entering your credentials.
2. Navigate to the "Settings" menu to configure important site settings, including your site title, tagline, and timezone, ensuring your content is accurate.
3. Install and activate essential plugins for optimization, security, spam protection, eCommerce features, and performance enhancement.
Recommended plugins include:
- Yoast SEO
- Wordfence
- Akismet
- WooCommerce
- Jetpack
4. Customize your site's appearance by selecting and personalizing a theme through the "Appearance" menu.
Modify layouts, colors, and fonts to align with your desired style.
Summary
Now that you have learned how to install WordPress on any hosting platform, you can proceed to set up your website. Verify the installation requirements and adhere to each step meticulously. In case of issues, consult the troubleshooting section for assistance. After your site is operational, investigate post-installation steps for customization. Proficiency in WordPress will increase with practice. Begin establishing your online presence immediately by implementing the knowledge acquired.