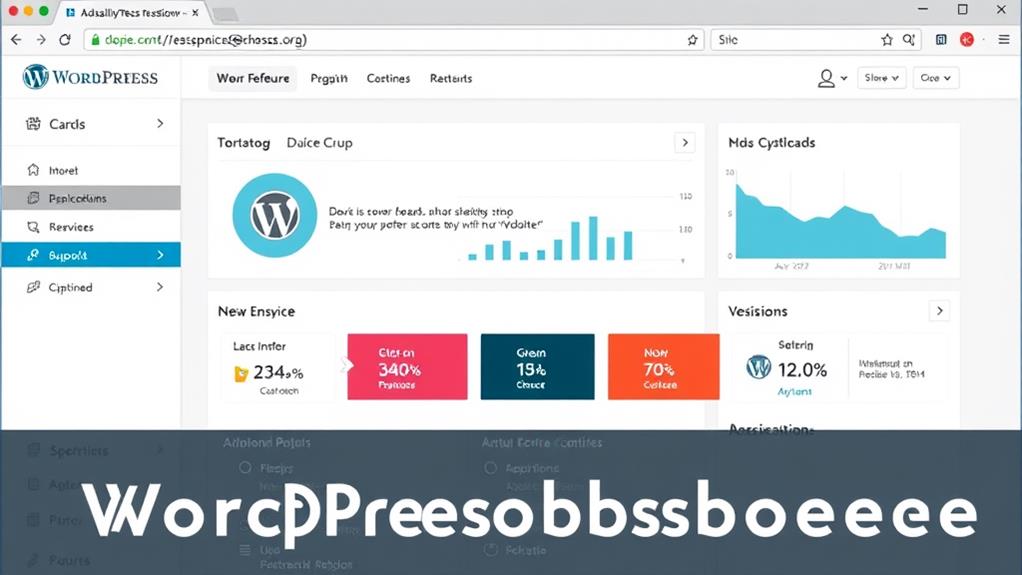
The WordPress dashboard serves as the central hub for website management, offering a comprehensive set of tools and features.
The dashboard is structured with a top toolbar for quick actions like creating new posts, a central area with widgets that offer at-a-glance summaries of recent activities such as comments, and a left-sided menu for accessing key areas including posts, pages, and appearance settings. This layout is customizable, allowing users to rearrange or remove widgets as needed.
Creating new posts and pages is straightforward: for posts, navigate to "Posts" and select "Add New"; for pages, go to "Pages" and choose "Add New."
Media files can be uploaded and organized via the "Media Library," while comments are managed through the "Comments" section.
Additional settings for themes, plugins, and users are accessible, providing deeper levels of customization and control as users explore further.
Understanding the Dashboard Layout
Upon logging into your WordPress dashboard, you encounter a variety of widgets and menus constituting the primary layout. This dashboard serves as the central control panel for managing your website.
A toolbar at the top of the screen offers quick access to frequently used features, including creating new posts or pages and viewing site statistics.
The main dashboard area is organized into several sections, each housing different widgets. These widgets provide a summary of your site's activities, such as recent comments, draft posts, and shortcuts to your site's content.
Customization options allow you to rearrange, minimize, or remove widgets, enabling a tailored dashboard experience.
On the left side of the screen, the main navigation menu lists links to all major administrative areas of your site, including posts, pages, comments, appearance settings, among others.
This menu can be collapsed to expand the main dashboard area as needed.
Navigating the Admin Menu
Navigating the Admin Menu:
The admin menu is structured to streamline site management tasks, serving as the control center with quick access to all necessary tools.
The main sections include:
- Posts: Create new blog posts and manage categories and tags.
- Media: Store uploads such as images, videos, and documents.
- Pages: Create static content that doesn't change often, like an About Us page.
- Comments: Manage visitor feedback.
- Appearance: Customize the site's look, manage themes, and widgets.
Each section aids in managing a specific part of the site.
Familiarizing oneself with these sections allows for quick and efficient navigation, simplifying site management tasks.
Managing Posts
Managing posts is essential for maintaining an engaging WordPress site. Access the "Posts" option on your dashboard to create and manage content.
The "All Posts" section allows you to view, edit, and delete existing posts. Click "Edit" under a post title to make changes. To remove a post, move it to the trash.
To create a new post, click "Add New", which opens the editor. Here, you can add text, images, videos, and other content.
Organize your posts with categories and tags. Once satisfied, click "Publish" to make your post live.
Creating and Editing Pages
To create a new page in WordPress:
- Navigate to the "Pages" section.
- Click "Add New."
- Enter your page title.
- Enter your page content.
To edit an existing page:
- Go to "All Pages."
- Find the page to edit.
- Click on the page title.
- Make necessary changes.
Adding New Pages
Adding New Pages in WordPress
- Access the WordPress dashboard.
- Navigate to "Pages" in the left sidebar.
- Click "Add New" at the top.
- Input the page title.
- Use the editor to insert content.
Publish the page to make it live.
Add multiple pages as needed and edit them later if required.
Modifying Page Content
To modify page content in WordPress, navigate to the "Pages" section on your dashboard and select "All Pages" to view your current pages.
Click on the title of the page you wish to edit, which will open the page in the WordPress editor. Here, you can modify text, add images, or adjust the layout.
Text editing utilizes the same tools as page creation, allowing you to bold, italicize, or underline words, insert links, or create lists.
To add images, click the "Add Media" button to upload files from your computer or select from the media library, and follow the instructions.
Save your changes by clicking "Update" when finished.
To preview changes without publishing, use the "Preview" button, which displays edits on the front end of your site without making them live immediately.
Utilizing Media Library
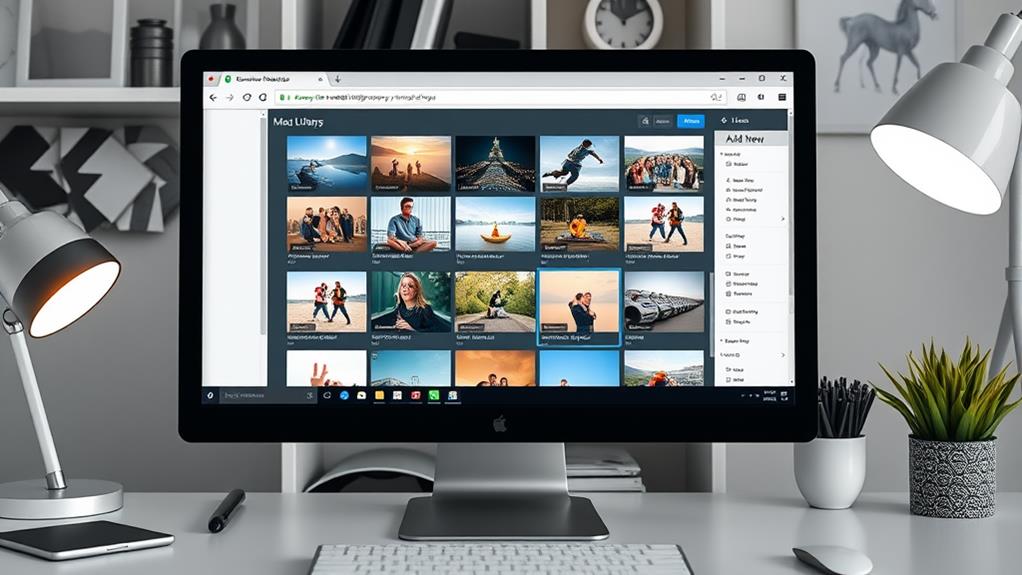
The Media Library in the WordPress dashboard contains all uploaded files, including images, videos, and documents, for use on your website.
Organizing files into folders facilitates efficient retrieval when needed.
Uploading and Managing Files
In the WordPress Media Library, you can efficiently upload and manage various file types, including images, videos, audio files, and documents. The uploading process is straightforward, allowing you to drag and drop files directly into the library or use the "Add New" button for file selection from your device.
Post-upload, the Media Library facilitates:
- Modification of file attributes such as titles, captions, and descriptions.
- Basic image editing, including cropping and rotation.
- Removal of unnecessary files.
- Efficient search functionality by file name or tag.
- Flexible viewing options, including list and grid layouts.
The library is designed to maintain organization, offering filters for file type or date to streamline searches.
Additionally, updating a file is simple—uploading a new version automatically updates the file site-wide.
Organizing Media With Folders
To improve the organization of your media files in WordPress, you can utilize folders within the Media Library. Although this functionality isn't inherently available in WordPress, it can be implemented using plugins such as "Media Library Folders" or "FileBird."
After installing one of these plugins, you can begin organizing your media files into folders directly from the WordPress dashboard.
Creating folders is simple. Access your Media Library and find the new option to add a folder. Click on it, name your folder, and it's ready. You can create multiple folders and even sub-folders within them to keep everything organized.
Transferring files into these folders involves a drag-and-drop method. Choose the files you wish to move, drag them to the selected folder, and drop them in. This action doesn't alter the URLs of your files, ensuring no broken links.
Utilizing folders can significantly reduce the time spent searching for specific files. Instead of browsing through numerous images, you can directly access the appropriate folder.
This feature is especially beneficial for websites with extensive media collections.
Configuring Website Settings
Configuring Website Settings:
- Set the site title and tagline, which are crucial for browser tabs and search engine visibility.
- Choose an appropriate permalink structure to enhance usability and SEO.
- Configure the correct timezone to ensure accurate timestamping of posts and comments.
- Adjust reading settings to control the number of posts displayed on the homepage and select between a static page or latest posts.
- Customize discussion settings to manage comment moderation and notification preferences.
These steps are essential for establishing a well-functioning and visually appealing website, optimizing user experience, and ensuring operational efficiency.
Working With Themes
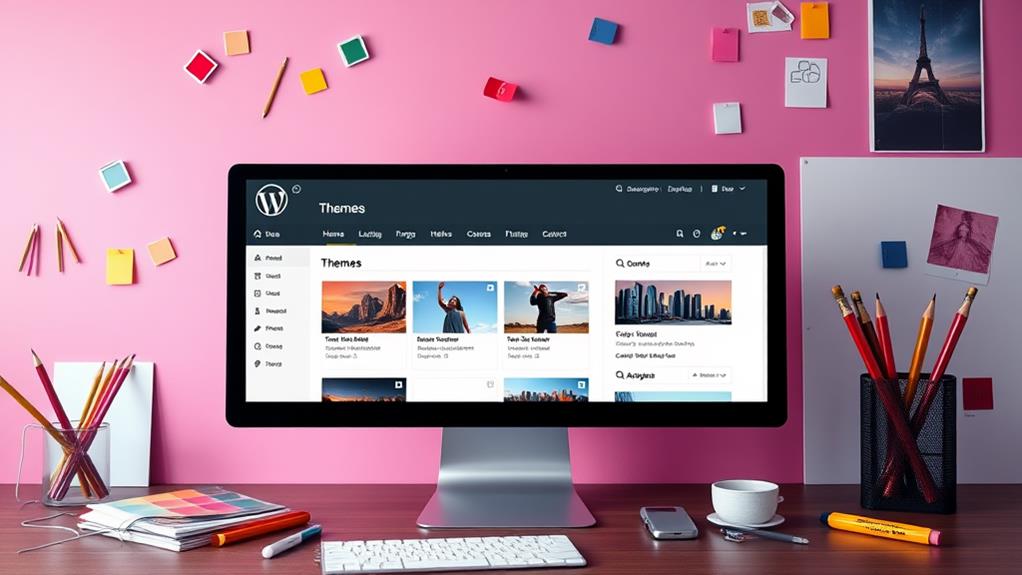
WordPress themes determine your website's appearance and user experience. They're manageable via the WordPress dashboard under "Appearance" > "Themes". This section displays all installed themes on your site.
To install a new theme, click "Add New" at the top. You can explore featured, popular, and latest themes or search for a specific one. After finding a suitable theme, click "Install" and then "Activate" to set it as your current theme.
Customization options, including colors, fonts, and layout, are available with most themes. Access these settings by clicking "Customize" on your active theme.
The customizer allows you to preview changes before making them live on your site.
Installing and Managing Plugins
To enhance your WordPress site, install plugins by navigating to the "Plugins" section on your dashboard.
This section allows you to find, add, update, and remove plugins, thus managing their lifecycle directly from your administrative interface.
Plugin Installation Process
After setting up your WordPress site, enhance its functionality by installing plugins. Here's how:
- Search for a plugin: Navigate to "Plugins" > "Add New" in your WordPress dashboard. Use the search bar to find the required plugin.
- Install the plugin: Click "Install Now" on the desired plugin. WordPress will handle the download and installation.
- Activate the plugin: Click "Activate" post-installation to enable the plugin on your site.
- Configure settings: Access the plugin's settings through the new menu item it adds to your dashboard.
- Update regularly: Watch for updates. Keeping plugins current is vital for security and performance.
Plugin Updates and Removal
Maintaining your WordPress site's health and security involves regularly updating and removing plugins. Updating plugins ensures access to the latest features, bug fixes, and security patches, protecting your site from vulnerabilities and ensuring smooth operation.
To update a plugin, navigate to the "Plugins" section in your WordPress dashboard, where you'll find a list of all installed plugins. An "Update now" link will appear under any plugin with an available update. Clicking this link prompts WordPress to automatically download and install the plugin's latest version.
Equally important is removing unused plugins, as they can slow down your site and introduce security risks. To remove a plugin, go to the "Plugins" section, locate the plugin you wish to remove, and click "Deactivate".
After deactivation, click "Delete" to permanently remove the plugin from your site.
Managing User Roles and Permissions

Managing user roles and permissions in WordPress is essential for controlling user capabilities on your website. Assign specific roles to users to manage their actions.
Understand the predefined roles such as Administrator, Editor, Author, Contributor, and Subscriber, each with different capabilities. Add new users through the "Users" section and assign appropriate roles.
Edit user permissions by locating the user under "All Users," selecting "Edit," and adjusting their role in the "Role" dropdown menu. Delete users who no longer need access, with the option to remove their created content.
Utilize plugins like "User Role Editor" for customized control over roles and permissions, allowing detailed management of user capabilities.
Handling Comments
Managing comments on your WordPress site is essential for fostering visitor interaction and maintaining content relevance and appropriateness. Access the "Comments" section in your WordPress dashboard to view all submitted comments, where you can approve, reply to, edit, trash, or mark them as spam based on their contribution to the discussion.
Regularly reviewing comments ensures conversation quality. WordPress allows you to establish comment moderation rules, enabling you to pre-approve comments before they're published on your site, which helps filter out unwanted content.
You can also opt to receive email notifications for new comments, facilitating quick responses or actions. Effective comment management not only cultivates a community around your content but also enhances audience engagement and trust by ensuring that interactions remain meaningful and spam-free.
Using WordPress Widgets
Widgets in WordPress are powerful tools that allow you to customize your website's sidebars, footers, and other areas without touching a line of code. They function as modular components for your site, enabling you to add content, features, and design changes with just a few clicks.
Widgets can be utilized to:
- Incorporate a search bar, facilitating easy content discovery for visitors.
- Display recent posts, ensuring your content remains current.
- Showcase a calendar of your posts.
- Add a gallery or slideshow to feature your images.
- Insert custom HTML for additional functionality.
To utilize widgets, navigate to the Appearance menu in your WordPress dashboard and select Widgets. This will display a list of available widgets on the left and areas where you can place them on the right.
Simply drag and drop a widget to your desired location, customize its settings, and you're set. Widgets provide a straightforward way to enhance your site's interactivity, informativeness, and user-friendliness.
Implementing Menus
Creating menus in WordPress is crucial for effective website navigation, allowing users to easily locate desired content.
To construct a menu, navigate to "Appearance" in the WordPress dashboard and select "Menus." This interface enables the addition of pages, posts, custom links, and categories to your menu structure.
To initiate a new menu, click "create a new menu," label your menu, and proceed by clicking "Create Menu." Following this, incorporate items into your menu by selecting them from the options on the left and clicking "Add to Menu."
Adjust the sequence of menu items through drag-and-drop functionality.
Upon completing your menu setup, designate it to a specific location. Your theme provides predefined menu locations, including primary navigation or footer areas.
Select the fitting location for your menu and confirm by clicking "Save Menu." This action activates your menu on the website, enhancing user navigation through your content.
Utilizing WordPress Tools
WordPress provides a suite of essential tools for enhancing your website's functionality and appearance, crucial for maintenance and improvement.
Key utilities include:
- Import and Export: Facilitate content transfer, including posts, pages, comments, and custom fields.
- Site Health: Assesses your WordPress installation for common issues, offering improvement recommendations for maintaining security and performance.
- Export Personal Data: Assists in GDPR compliance by allowing the export of user data upon request.
- Erase Personal Data: Enables the erasure of a user's personal data to meet privacy requests and legal obligations.
- Plugins and Themes Editor: Allows direct editing of plugin and theme files from the dashboard for quick modifications.
Leveraging these tools regularly can significantly boost your website's performance and user experience, ensuring smooth operation and legal compliance.
Customizing Your Dashboard
Customizing your WordPress dashboard is essential for improving efficiency and workflow. To achieve this, start by rearranging the dashboard widgets, prioritizing the most frequently accessed information. Utilize the drag-and-drop feature to create an optimal layout.
Evaluate the necessity of each widget and remove those that aren't in use to declutter the dashboard, enhancing navigation. If required widgets are missing, add them via the "Screen Options" tab at the top of the dashboard, selecting the desired widgets from the available options.
Adjust screen options for posts and pages by enabling or disabling various fields and options, tailoring the editing interface to specific needs.
Summary
With a comprehensive understanding of the WordPress dashboard, you are now prepared to effectively manage your website. You have learned how to navigate through posts, pages, widgets, and tools, enabling you to customize your site to reflect your personal or business identity. As you continue to explore and utilize these features, your WordPress skills will grow, allowing you to create a website that accurately represents your vision.