
Changing your WordPress site title and tagline involves accessing your dashboard and navigating to "Appearance," then "Customize."
Within the customization options, locate the "Site Identity" section. This section allows you to input the new site title and tagline that best represent your website.
It's essential to preview your changes using the provided preview function to ensure the new title and tagline appear as intended.
Upon satisfaction with the changes, proceed to save them by clicking "Publish."
To confirm the changes have taken effect, open your website in a new tab. If any adjustments are necessary, return to the dashboard to make further modifications.
Familiarity with this process will enable more advanced customization of your site's identity in the future.
Accessing Your WordPress Dashboard
To access the WordPress dashboard, log in to your WordPress site using your username and password. Upon logging in, you'll be directed to the dashboard, which is the central hub for managing all aspects of your site.
The dashboard is designed to be intuitive for users of all levels of experience.
On the left side of the screen, there's a menu with various options. Each option corresponds to a specific area of your site that can be customized. This includes creating new posts, managing comments, and altering your site's appearance.
It is recommended to spend some time exploring the dashboard. By hovering over each menu item, you can learn about its function.
As the control center of your site, you'll frequently use the dashboard.
Navigating to Site Identity Settings
Access WordPress Dashboard
- Locate and click on the "Appearance" tab in the dashboard.
- Select "Customize" to enter the WordPress Customizer.
Navigate to Site Identity Settings
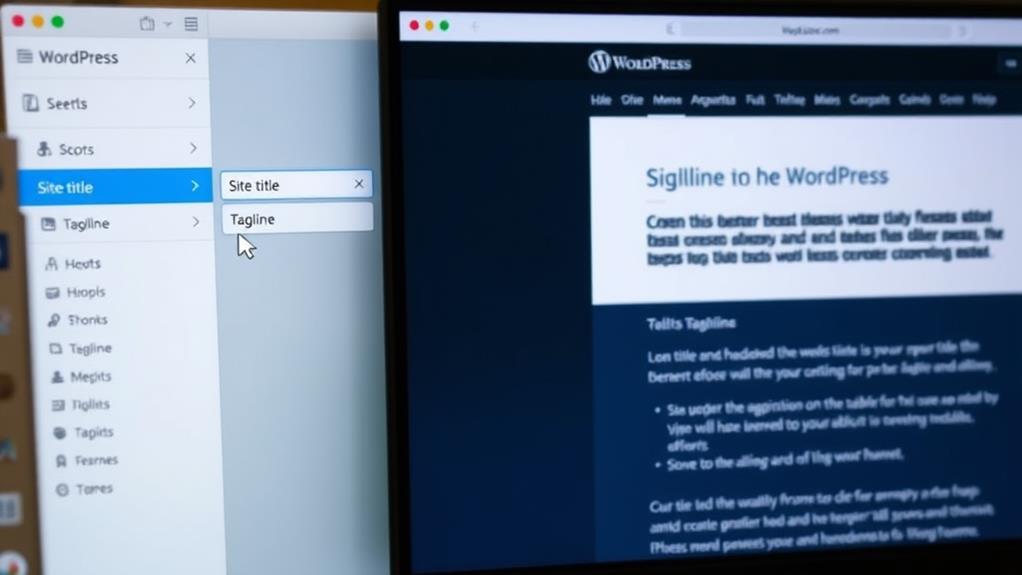
- Within the Customizer, find the "Site Identity" section, typically among the first options.
- Click on "Site Identity" to access settings for your site's title and tagline.
Review Current Settings
– Before making changes, review the current site title and tagline to understand what needs to be updated.
Changing Your Site Title
To change your site title, access the Site Identity settings.
Locate the "Site Title" field and input your new title, ensuring it accurately represents your site's content.
After entering the title, save your changes by clicking the "Save Changes" button at the page's bottom.
Failure to save before navigating away from the page will result in the loss of your updates.
Always verify that you have clicked the save button to preserve your changes.
Updating Your Site Tagline
Updating Your Site's Tagline
- Access your WordPress dashboard.
- Navigate to "Settings" followed by "General."
- Locate the "Tagline" field, typically situated below the "Site Title" field.
Your tagline should be concise and complement your site title, providing additional insight into your site's purpose or offerings.
Previewing Changes in Real-Time
Previewing your site title and tagline changes is essential to ensure they appear as intended.
WordPress facilitates this through its customizer feature, which is accessible via the "Appearance" option on your dashboard, followed by selecting "Customize."
Inside, the "Site Identity" section displays your updated site title and tagline. As modifications are made, the live preview on the right side of the screen updates in real-time, allowing you to observe the changes as they'd appear on your actual site before publishing.
This feature is useful for experimenting with different titles or taglines to assess their impact on your site's header or browser tab.
Saving Your New Site Identity
To ensure your new site title and tagline are applied, follow these steps to save your changes:
- Find the Save Option: Identify the "Save Changes" or "Publish" button, typically located at the bottom or top of the settings page. This button ensures your modifications are saved.
- Execute the Save Command: Click the identified button. A confirmation message or loading icon may appear, indicating the saving process. Await its completion.
- Verify the Changes: Refresh the settings page to confirm if the updates to your site title and tagline have been retained. If they appear as expected, your new site identity has been successfully saved and applied.
Viewing Your Updated Site Title and Tagline
To view your updated site title and tagline, follow these steps:
- After saving changes, open a new browser tab.
- Enter your website's URL and press enter to load the site.
- Verify the site title and tagline appear correctly at the top.
Ensure the title and tagline have proper spelling, capitalization, and punctuation. If satisfied, you have updated your site's identity successfully.
If edits are needed, return to the WordPress dashboard. Navigate to "Settings" to make necessary adjustments.
The title and tagline significantly impact visitors and search engines, so refinement is key for a compelling online presence.
Troubleshooting Common Issues
If your WordPress site title or tagline updates aren't visible, several common issues could be responsible.
Troubleshoot these issues to resolve the problem.
Resolving Title Changes
When updates to your WordPress site title and tagline don't appear on your website, several common issues could be responsible. Follow this checklist to troubleshoot:
1. Clear browser cache and refresh: Browsers store parts of websites to enhance loading speed. If the updated site title isn't visible, the browser might be displaying a cached version.
Clear the cache and reload the page to check if the changes take effect.
2. Verify theme support for custom site titles: The flexibility of WordPress themes varies. If your theme doesn't support custom site titles, changes made in the settings will be overridden by the theme's default title.
Consider switching themes or modifying the theme's code.
3. Recheck site title settings: It's possible that a mistake was made while saving changes to the site title settings.
In the WordPress dashboard, navigate to "Settings" > "General" and verify the "Site Title" field. Even without making changes, try re-saving the settings to potentially push the update through.
Tagline Update Problems
Resolving Tagline Update Issues:
- Save changes: Verify that you've saved any modifications to your tagline.
- Clear browser cache: If changes aren't visible, your browser may be displaying a cached version of your site. Clear your browser's cache to see the updates.
- Check caching plugins: If the issue persists, a caching plugin may be serving outdated content. Clear the cache within the plugin or consult its documentation for guidance.
- Review theme settings: Some WordPress themes may override standard tagline settings. Investigate your theme's settings or contact the developer to ensure your changes are applied correctly.
Summary
You have successfully updated your WordPress site title and tagline, which are crucial for your site's identity and SEO. These elements should be clear, concise, and reflective of your site's purpose. If you encounter any issues, consult this guide or WordPress support forums.