
To create and manage pages in WordPress, log into your dashboard and navigate to "Pages."
Click "Add New" to start creating your page. Input a title and add content using the editor.
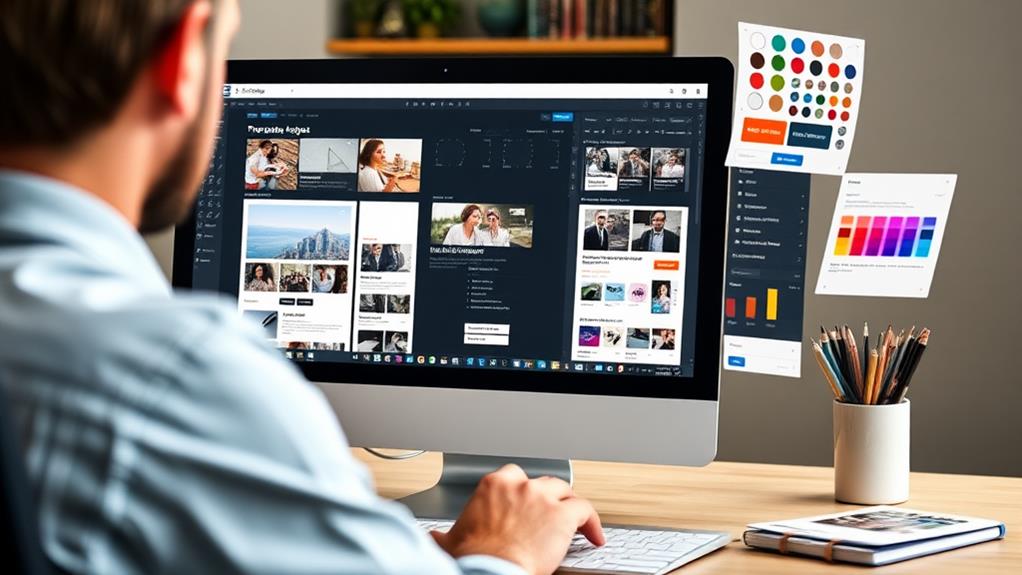
Utilize the Gutenberg Block Editor to customize your page layout, apply templates, and adjust settings for visibility and SEO.
Structure your pages hierarchically to enhance navigation clarity.
Regularly update or delete pages to maintain site relevance.
Preview changes and save your work frequently.
Delve deeper into enhancing page SEO and using templates effectively for an optimized user experience.
Understanding WordPress Pages
WordPress Pages are essential for static, timeless content on your website, such as About Us, Contact, or Privacy Policy sections.
Unlike posts, pages aren't organized by date or categories, making them suitable for content that remains relevant over time. You can create a hierarchical structure with parent and child pages, which is useful for organizing navigation menus.
Search engines index Pages, but they prioritize Posts for fresh content. Therefore, it's crucial to use clear, SEO-friendly Titles for your Pages to ensure they're easily discoverable.
Updating a Page doesn't trigger notifications to users or search engines, underscoring their role as stable, enduring components of your site.
Creating a New Page
Creating a New Page in WordPress:
- Access your WordPress dashboard.
- Navigate to "Pages" and select "Add New" to open the page editor.
- Enter an SEO-friendly title for your page, which will also form the basis of your page's URL.
- Utilize the text box to input your content.
- Incorporate multimedia elements, such as images or documents, by using the "Add Media" button as required.
- Ensure your content is semantically accurate, complete, consistent, concise, relevant, interoperable, and trustworthy.
Accessing Page Interface
Creating a new page in WordPress involves accessing the page interface via the WordPress dashboard. Here are the steps to follow:
- Dashboard Navigation: Locate "Pages" on the dashboard's left-side menu and click it.
- Adding a New Page: In the Pages section, click the "Add New" button at the top.
- Entering Page Title: In the page editor, input your page title. This step is crucial as it also sets the default permalink.
- Adding Content: Use the main text box below the title field to enter your page content. You can insert images or files using the "Add Media" button.
- Adjusting Settings: On the right side, configure settings such as visibility (public, private, or password-protected).
- Publishing or Saving: Click "Publish" to make your page live, or save it as a draft for future edits.
These steps ensure the accurate, complete, consistent, concise, relevant, interoperable, and trustworthy creation of a new WordPress page.
Drafting Page Content
To begin creating your page content in WordPress, navigate to the "Pages" section in your admin panel and click "Add New." This action will open a new page, presenting a field for your page title at the top. Input your desired page name in this field.
Underneath the title, a large text box is provided for crafting your page's content. This area supports not only text but also the integration of images, videos, and various media types. To incorporate these elements, locate and click the "Add Media" button. This button allows you to upload files directly from your computer or select existing items from the media library.
Throughout the content creation process, ensure to save your progress by clicking "Save Draft." This habit prevents data loss should you be unable to complete the page in a single session.
Upon finalizing your page's appearance and content to your satisfaction, proceed to publish it live on your website. Click the "Publish" button to make your page immediately accessible to your audience.
Finalizing Page Settings
Finalizing Page Settings
Adjusting your page settings is crucial when creating a new page on your WordPress site. Before publishing, modify the following settings:
- Page Attributes: Organize your pages by setting a parent page, selecting a template, and specifying page order. This determines the page's appearance and hierarchy.
- Featured Image: Include a compelling image representing your page visually on themes and social media.
- Visibility Settings: Control page access by setting it to public, private, or password-protected.
- Order: Assign a number in the Order field to position your page within menus and lists.
After configuring these settings, publish your page to make it live according to your chosen visibility settings.
This ensures your page is well-structured and visually appealing on your site.
Designing Page Layout
Designing a page layout in WordPress begins with selecting a suitable page template that aligns with your content requirements.
After choosing a template, customize the page elements, including headers, footers, and sidebars, to align with your site's aesthetic.
Utilize the block editor to adjust the layout of your content, enabling you to easily rearrange text, images, and other media until you achieve a satisfactory appearance.
Selecting Page Templates
Selecting the right page template is crucial for creating an effective layout that enhances the visual appeal and functionality of your WordPress site.
In the Page Attributes section on the right side of the editor, you can find the available templates offered by your theme, which may include full-width layouts, sidebar options, and custom designs.
Consider the following:
- WordPress themes offer various page templates, enabling diverse design options.
- Your chosen template influences the page's visual presentation and user experience.
- Custom page templates can be created for advanced, site-specific design solutions.
- Preview the page after selecting a template to ensure it aligns with your goals.
Customizing Page Elements
To customize page elements in WordPress effectively, begin by selecting a suitable template.
Utilize the Gutenberg Block Editor for adding content through various blocks, including text, images, and galleries. This process ensures a modular and visually engaging page layout.
Next, navigate to the Page Attributes to select a page template that aligns with your site's design. Incorporate a featured image to enhance visual appeal and improve visibility on social platforms and within your theme.
For more advanced customization, consider using page builders like Divi. These tools offer intuitive drag-and-drop interfaces, extensive layout options, and responsive design capabilities to ensure compatibility across devices.
Additionally, adjust the Order field in Page Attributes to control the sequence of pages, enhancing user navigation experience.
Managing Page Settings
WordPress offers comprehensive page settings to manage the visibility and appearance of your pages effectively. The key settings include:
- Visibility Options: Control who can access your content by setting pages to public, private, or password protected.
- URL Slug: Create a unique and SEO-friendly web address for your page by customizing the URL slug.
- Scheduling Feature: Schedule your page to be automatically published at a specific date and time.
- Featured Images: Add a featured image to enhance your page's visual appeal and represent it on social media or in themes.
The Page Attributes section allows you to organize your pages by establishing parent-child relationships and specifying their order in navigation menus.
Organizing Page Hierarchies
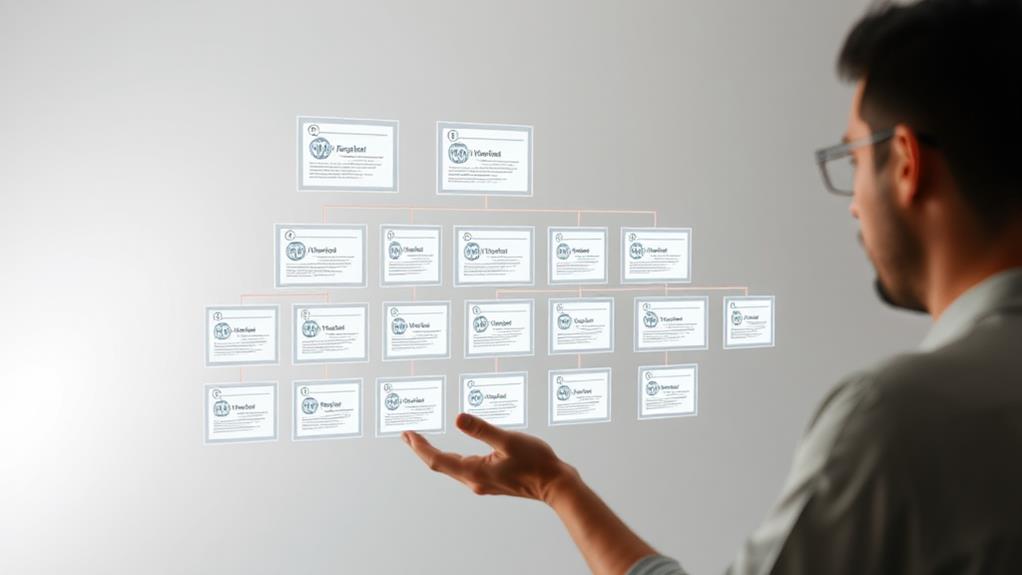
Organizing your WordPress site's Pages into hierarchies enhances user experience and SEO. Utilize the Page Attributes section to establish parent pages and their child pages, creating a logical structure. This organization groups related content, such as a Services page with specific subpages for each service.
| Page Type | Description | SEO Benefit |
|---|---|---|
| Parent Page | A top-level page that can have subpages | Clear URL |
| Child Page | A subpage under a parent page | Logical site structure |
| Standalone Page | A page without parent or child pages | Direct access |
Customizing the order of your Pages in the Page Attributes improves navigation and site structure, benefiting both users and search engines.
Updating and Editing Pages
Maintaining the relevancy and accuracy of your WordPress site is crucial, which involves regularly updating and editing your Pages.
To do this:
- Navigate to the "Pages" section in your WordPress admin area.
- Select "All Pages" to locate the page you wish to edit.
- Hover over the page title and click "Edit" to modify the content directly.
- Use the "Quick Edit" feature for minor adjustments without entering the full editor.
- After editing, click "Update" to save your changes.
- If a page is no longer relevant, move it to the "Trash" to keep your site organized.
Deleting and Restoring Pages
Deleting a Page in WordPress involves moving the Page to the trash bin by clicking the Trash link.
The Page remains in the trash for 30 days, allowing for restoration. To restore, navigate to the Trash section, locate the Page, and click the Restore link, returning the Page to the main Pages list.
For permanent deletion, select Permanently Delete while in the Trash section, which is irreversible.
Regularly checking the trash aids in content management, allowing quick restoration of needed Pages and ensuring unwanted Pages are permanently removed.
Utilizing Page Templates
WordPress page templates are powerful tools for customizing your website's appearance without extensive coding knowledge. To maximize their potential:
- Select from your theme's available templates, which may include full-width layouts, sidebar options, or designs tailored for portfolios and galleries.
- Assign your chosen template through the Page Attributes section when editing a page.
- Advanced users can create custom templates using PHP and WordPress functions for unique designs.
- Always use the preview function with the selected template before publishing to ensure the desired layout and functionality.
Utilizing page templates effectively allows for a distinct aesthetic tailored to each section of your website, enhancing both visual appeal and user experience.
Enhancing Page SEO
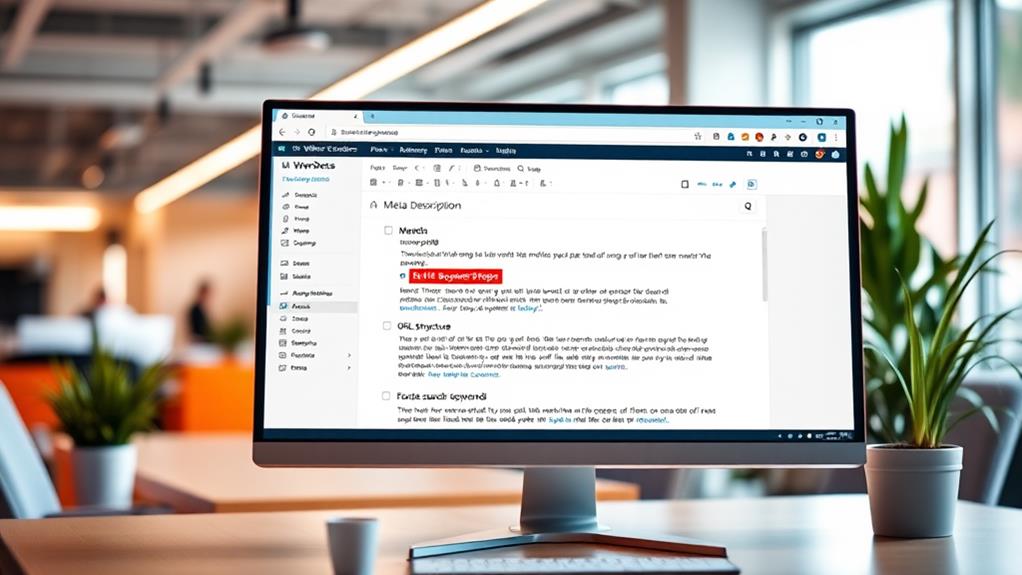
In the realm of WordPress, improving your page's SEO is crucial for drawing more visitors to your site.
Begin by creating a clear and descriptive title for your page in the title field, as this is often the first element that search engines and users encounter. Ensure it remains under 60 characters to ensure proper display in search results, and incorporate relevant keywords to enhance search engine visibility.
Following this, concentrate on your page's URL slug, ensuring it's both succinct and rich in keywords. This aids search engines in better understanding your page's content.
During the creation of your page, naturally integrate relevant keywords throughout the content, including in headings, subheadings, and image alt text, to further optimize your SEO.
Remember the significance of internal linking; link your new page to other pertinent pages on your site.
This not only facilitates navigation but also assists in distributing page authority across your site.
Summary
Creating and managing pages in WordPress is straightforward with a clear understanding of the process. To maximize their effectiveness, focus on design, organization, and settings optimization. Implementing SEO best practices enhances their online visibility. Consistent practice leads to proficiency in crafting appealing and discoverable WordPress pages.