Creating your first post in WordPress involves several straightforward steps.
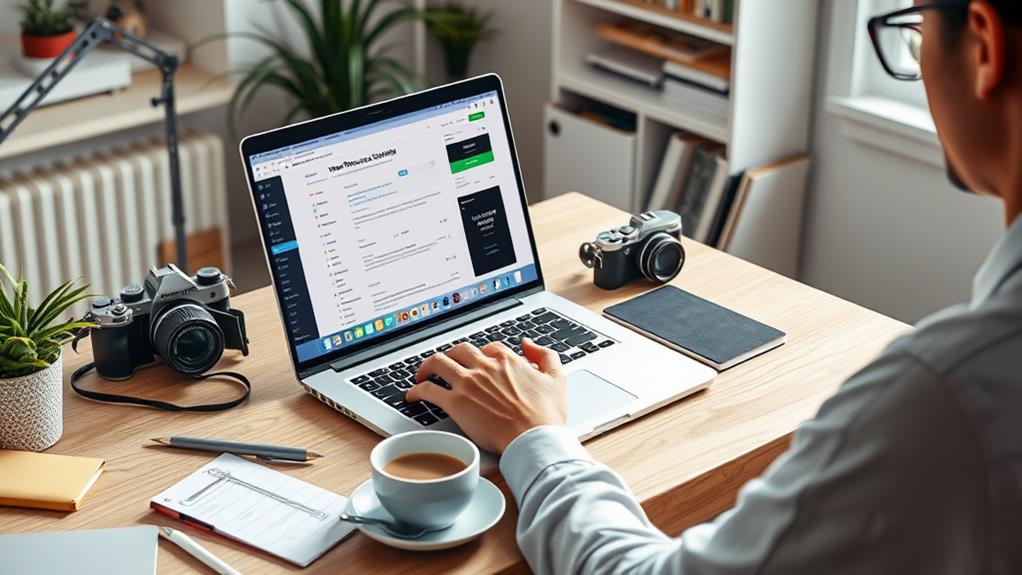
First, access your WordPress dashboard and navigate to the "Posts" section on the left-side menu. Click "Add New" to start a new post.
Begin by entering your post's title and main content in the respective fields. Utilize the toolbar to format your text, insert images, and create lists as needed.
Categorize your post and add relevant tags to organize it effectively within your website.
Before publishing, preview your post to ensure its appearance and layout meet your expectations. Additionally, optimize your post's URL slug for better search engine visibility.
Finally, adjust your post's visibility settings according to your preferences and click "Publish" to make your post live on your website.
Accessing Your WordPress Dashboard
To access your WordPress dashboard, follow these steps:
- Log in to your WordPress account.
- Upon logging in, you'll see the dashboard, which serves as the central hub for managing your website.
- The dashboard may initially appear complex, but it's organized into manageable sections.
- On the left side of the screen, there's a menu containing options such as Posts, Media, Pages, and more, allowing you to navigate to different areas of your site.
- To create a new post, click on the "Posts" option in the menu.
- This will display a list of all your posts, including drafts and published posts.
- Click the "Add New" button at the top of the page to create a new post.
Navigating the Posts Section
Navigating the Posts Section
Upon entering the Posts section, a comprehensive list of all posts, including drafts and published entries, is displayed. This serves as the primary hub for blog content management.
The left-side menu offers options like "All Posts," "Add New," "Categories," and "Tags." Selecting "Add New" directs users to the editor for creating new posts.
The "All Posts" section presents posts in a list format, showing titles, authors, categories, tags, and dates of publication. A search bar facilitates locating specific posts.
Hovering over a post title reveals options for editing, quick editing, trashing, or viewing the post.
Filters at the top allow sorting by categories, tags, or publication months for efficient content location.
The "Screen Options" tab at the top-right enables customization of displayed columns in the list view.
Additionally, bulk editing of posts, applying actions, or selecting multiple posts for deletion or other modifications are supported.
Crafting Your Post Content
Crafting Your Post Content
To dive into the core of blogging, which is creating your post content, start by identifying the main message you wish to convey. Choose a compelling title that encapsulates the essence of your post.
Proceed to draft your content, ensuring each paragraph focuses on a single concept for clarity. Utilize headings to structure your thoughts, enhancing readability. Incorporate lists or bullet points to emphasize key details.
Adopt a narrative or instructional approach using plain language, avoiding jargon to ensure your message is accessible. Provide detailed, step-by-step instructions if you're explaining a process.
Enhance your post with examples or anecdotes to make it engaging and relatable.
Conclude your post by summarizing the main points, ensuring your conclusion effectively ties your narrative or lesson together.
Utilizing the WordPress Editor Tools
The WordPress Editor, a central tool for content creation, allows users to construct posts and pages by incorporating text, images, and additional elements.
A toolbar located at the top provides various formatting options including bold, italics, links, lists, and text alignment settings (left, center, right).
Enhancing the visual structure and readability of the content can be achieved through the use of headers, available in sizes from H1 (largest) to H6 (smallest).
Visual elements such as images and videos can be integrated into posts using the "Add Media" button, with alignment options for left, right, or center positioning.
The "Preview" feature enables users to review the post's appearance pre-publication, facilitating any necessary adjustments before finalizing with the "Publish" button.
Finalizing and Publishing Your Post
Finalizing and Publishing Your Post
1. Preview Your Post: Use the "Preview" feature to review your post's appearance. Ensure there are no formatting issues or awkward spacing. Make necessary adjustments.
2. Add Categories and Tags: Assign relevant categories and tags to your post. Categories organize posts into broad topics, while tags are specific keywords. This aids in content discovery.
3. Optimize Your Post's URL: Edit the default URL generated from the post's title to be clear and concise. This enhances SEO and user experience.
4. Set Post Visibility: Choose the appropriate visibility setting:
- Public: Visible to everyone.
- Private: Restricted to your view only.
- Password Protected: Accessible to those with the password.
- Scheduled: Set a future publication date and time.
5. Publish Your Post: Once satisfied, click "Publish" to make your post live.
6. Promote Your Post: Share the post on social media platforms or via your email newsletter to attract readers.
Summary
To create your first WordPress post, follow these steps:
- Log in to your WordPress dashboard.
- Navigate to the "Posts" section in the left sidebar.
- Click on "Add New" to start creating a new post.
- Use the editor to compose your content, including text, images, and other media.
- Format your post using the available tools in the editor, such as headings, lists, and formatting options.
- Assign categories and tags to your post for better organization and searchability.
- Preview your post to ensure it appears as desired.
- Once satisfied, click "Publish" to make your post live on your website.
Remember to practice regularly and explore the various features and settings within WordPress to enhance your blogging skills and website functionality.