Customize WordPress widgets by navigating to Appearance > Widgets in the admin panel. Available widget areas are displayed for drag-and-drop customization.
Adjust widget settings like titles and visibility by clicking on them. Expand options with additional widgets from the Plugin Directory.
For advanced styling, use custom CSS accessible via Appearance > Customize. Set display conditions based on page types or categories to control widget visibility.
Explore further to maximize widget functionality.
Overview of WordPress Widgets
Widgets in WordPress are essential for enhancing your site's functionality and customization. They're modular components that allow you to add content and features to specific areas of your site, such as sidebars or footers, enabling easy customization of your site's appearance and operation.
WordPress provides default widgets like Categories, Tag Cloud, and Search, which are immediately usable. For additional options, custom widgets can be added through plugins. Each widget type, including text, image, or video, serves a unique purpose, allowing the display of various content types in widget-ready areas.
Managing widgets is straightforward via the WordPress admin panel, requiring no coding skills. This functionality significantly transformed content management in WordPress, offering greater control over design and functionality.
Explore widgets to customize and enhance your WordPress themes effectively.
Installing WordPress Widgets
To install WordPress widgets, verify your theme's compatibility under the Appearance menu.
Access Appearance > Widgets to view available widget areas.
Expand functionality by exploring the Plugin Directory and adding new widgets.
Accessing Plugin Directory
Accessing the WordPress Plugin Directory allows users to enhance their site's functionality by adding new widgets.
Begin by navigating to the Administration menu, selecting Plugins, and then choosing Add New. This opens the Plugin Directory, where a variety of plugins are available to add widgets to your site.
In the directory, locate a desired widget plugin and click the Install Now button. This process is designed to be user-friendly, requiring no coding expertise. After installation, activate the plugin using the Activate button.
With the widget plugin activated, access your new widgets via the Appearance menu under Widgets. This area permits customization and arrangement of widgets according to your preferences, utilizing a drag-and-drop interface.
Before installing new widgets, verify your theme's widget compatibility to ensure seamless integration. Adhering to these steps facilitates effective widget addition and management on your WordPress site, enhancing both functionality and user experience.
Verifying Theme Support
Verifying theme support for widgets in WordPress is crucial for ensuring seamless functionality. To confirm if your theme supports widgets, access the Appearance menu in your WordPress admin panel and look for the Widgets option. The absence of this option may indicate that your theme, especially if it's a modern block theme, doesn't support traditional widget areas.
Instead, block themes utilize block-based editing for customization. Classic themes typically maintain widget support. Conversely, block themes enable layout customization through the Site Editor.
For definitive information on your theme's widget compatibility, consult the theme's documentation or support forum.
Keeping your theme updated is also crucial. Updates can introduce enhancements or modifications in widget functionality. By maintaining your theme's latest version, you access new features and bug fixes.
Following these verification steps ensures your widgets operate correctly, contributing effectively to your site's design.
Displaying Existing Widgets
Enhancing your WordPress site's layout involves displaying existing widgets effectively.
Begin by accessing the WordPress admin panel. Navigate to Appearance, then Widgets. This opens the widget management area.
In this section, you'll find a list of available widgets. Drag and drop these widgets into designated areas like sidebars or footers to customize your site's appearance and content.
Click on a placed widget to adjust its settings. Customize titles, content, and other options to align with your needs.
Utilize the Theme Customizer for a live preview of your changes. This tool provides immediate feedback, ensuring your adjustments meet your expectations.
Additionally, control the visibility of each widget. This feature allows you to specify where widgets appear on your site, enhancing relevance and user experience.
This streamlined process facilitates the creation of a more engaging website.
Widget Areas Explained
Widget areas are crucial for defining your WordPress site's functionality and appearance. These designated sections within your theme allow for widget placement. Typical widget areas include the primary sidebar, footer columns, and header widgets, with specific areas varying depending on the theme.
Access your widget areas by navigating to Appearance > Widgets in your WordPress dashboard. This section displays available widget areas. Adding a widget is straightforward: drag it from the available widgets into a designated area.
This intuitive drag-and-drop functionality facilitates site layout customization without requiring coding knowledge.
In some contemporary block themes, traditional widget areas might be absent. Instead, utilize the Site Editor for comprehensive site editing, enhancing design flexibility.
Using Text Widgets
Incorporating dynamic content into your WordPress site is streamlined through the use of text widgets, which support various content types including text, images, videos, and lists.
To begin, navigate to Appearance > Widgets or Appearance > Customize, where you can view all available widget areas for placing your text widgets.
To integrate a text widget, drag it into a designated widget-ready area. Proceed to configure its title and content. While you can include links, it's advisable to restrict it to one link per widget to maintain simplicity and engagement for your visitors.
After inputting your content, ensure to save your changes to publish it on your site.
For enhanced text appearance, HTML code can be utilized within the text widget, with automatic paragraph wrapping recommended for improved readability.
Additionally, custom CSS can be applied through the Advanced tab or via Appearance > Customize > Additional CSS, offering further personalization options for your text widgets.
Adding Code to Text Widgets
Adding code to Text Widgets in WordPress enhances customization for users. To do this:
- Navigate to Appearance > Widgets in the WordPress dashboard.
- Select the Text Widget to edit.
- Input HTML code directly into the widget's content area.
- Enable "Automatically add paragraphs" for proper formatting with HTML tags.
- Utilize basic HTML elements for text formatting and image insertion to improve content appearance.
- Test the code in a local development environment before implementing it on the live site to prevent conflicts.
- Save changes after adding the code.
- Preview the widget on the front end to verify correct functionality and display.
Following these steps allows effective customization of Text Widgets with HTML code.
Utilizing RSS Widgets
Incorporating RSS Widgets into your WordPress site allows for the seamless integration of external content feeds from diverse sources, including blogs and social media platforms.
To begin this process, navigate to Appearance > Widgets within your WordPress dashboard, where you'll find the RSS Widget available for use.
To utilize the widget, drag the RSS Widget to your selected widget area. Upon placing it, you're required to enter the feed URL of the desired source. Additionally, you have the option to include a title for your widget, providing clarity on the content visitors will encounter.
By default, the widget displays post titles along with the initial 100 characters of the feed content, offering users a snapshot of the linked material.
Customization options for the RSS feed's behavior are available within the widget settings. This allows for adjustments such as the number of posts displayed and the presentation style.
Incorporating RSS Widgets is a straightforward method to ensure your site remains updated with pertinent content with minimal effort. Following these steps will result in a consistent flow of fresh material to your site.
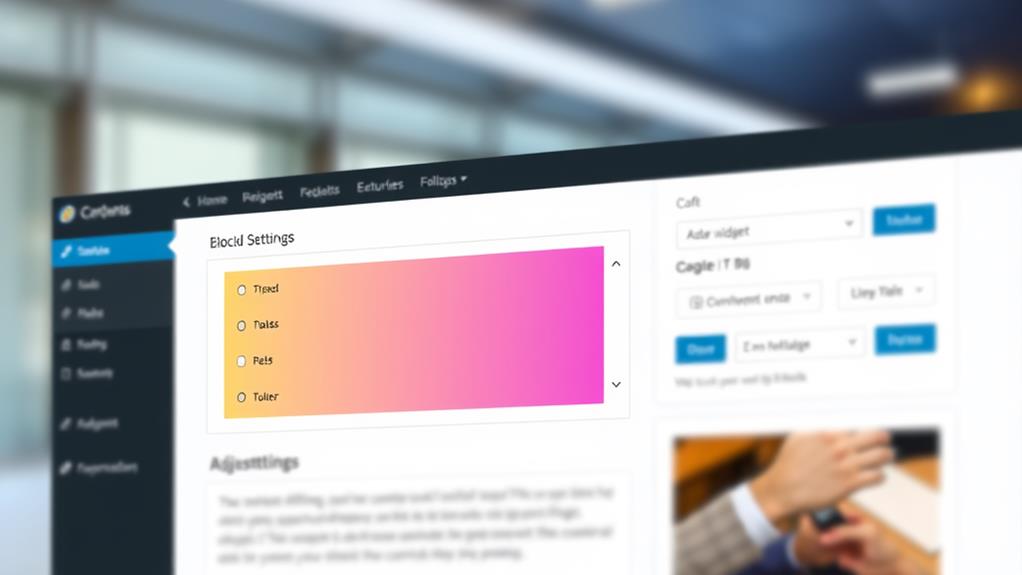
Customizing Widget Appearance
To customize widget appearance in WordPress, access Appearance > Widgets in the admin panel.
Utilize the Block Settings sidebar to adjust colors and typography.
For advanced customization, add custom CSS through the Theme Customizer.
Color and Typography Choices
Customizing the color and typography of your widgets enhances your website's aesthetic appeal and user experience. Access the widget settings via Appearance > Widgets in your WordPress dashboard.
Select the widget you wish to customize. Adjust the color and typography settings available in the block panel options.
If these options aren't visible, navigate to the Advanced tab to add CSS classes for custom styles. Further customization is available through Appearance > Customize, under Additional CSS. This section allows for real-time previews as you implement custom CSS rules to modify font size, colors, and other design elements.
Consistency in color and typography across widgets is crucial for a cohesive website design, improving user navigation and content readability.
Consult your theme's documentation for any additional widget styling options, enhancing your site's customization capabilities.
Custom CSS Implementation
Custom CSS enhances widget customization, aligning your site's appearance with your design vision.
To implement custom CSS, access Appearance > Customize, then select Additional CSS. Enter custom styles targeting specific widget classes or IDs to avoid unintended changes elsewhere on your site. Utilize the live preview in the Customizer for real-time feedback on your modifications.
Adjust common CSS properties like font size, color, margins, and padding to enhance the visual appeal and layout of your widgets.
For advanced styling, refer to the widget's Advanced tab to apply unique styles based on specific conditions or states using the CSS classes provided. This allows for seamless integration of your widgets into your website's overall design.
Adjusting Block Widget Settings
Adjusting Block Widget Settings
To enhance your site's functionality, customize each block according to your needs.
Follow these steps for precise customization:
1. Select the Block: Click on the chosen block to access a toolbar with customization options.
2. Access Additional Settings: Utilize the three dots menu to access options, including Copy, Duplicate, and Move to a different widget area.
3. Open the Block Settings Sidebar: If the sidebar isn't visible, click the settings icon in the top right corner.
This sidebar allows adjustments to layout and visibility.
4. Use the Advanced Tab: Navigate to the Advanced tab in the Block Settings for customized styling options.
This section allows the addition of custom CSS classes for specific designs.
Moving Blocks Between Areas
Moving blocks between widget areas is a straightforward and efficient process.
Select the desired block and use the Move to widget area icon to position it in the chosen location.
This drag-and-drop feature allows for seamless content organization while preserving all custom settings.
Widget Area Selection
Effortlessly organizing your widget content is crucial for a refined WordPress site, and correctly selecting widget areas is essential in this process.
To move blocks between widget areas, follow these steps:
- Select the Block: Click on the block you wish to relocate. This can include any widget currently in your layout.
- Use the Move Icon: Locate the Move to widget area icon, characterized by a squiggly arrow in the toolbar, and click to initiate the transfer.
- Choose the Area: Upon clicking the icon, a dropdown menu appears. This menu allows you to pick the new widget area for your block.
- Confirm the Move: After selecting the desired widget area, finalize your choice, and your block will transition to its new location.
This feature facilitates easy adjustments to your layout, enhancing your ability to construct a unified and well-organized WordPress site by understanding block relocation between widget areas.
Drag-and-Drop Functionality
After selecting the appropriate widget areas for your content, utilize the drag-and-drop functionality to easily rearrange blocks.
To move a block, select it and click the "Move to widget area" icon in the toolbar, resembling a squiggly arrow. Drag the block directly to a new location within the widget area for intuitive placement adjustments. Alternatively, choose a new widget area from the dropdown menu appearing after clicking the move icon.
This feature facilitates quick adjustments, optimizing widget content organization across different site areas.
Frequent block rearrangement is hassle-free. Utilizing this functionality enables creating a layout tailored to your needs, enhancing visitor experience.
Achieve your desired website appearance with just a few clicks.
Accessing Widget Visibility Settings
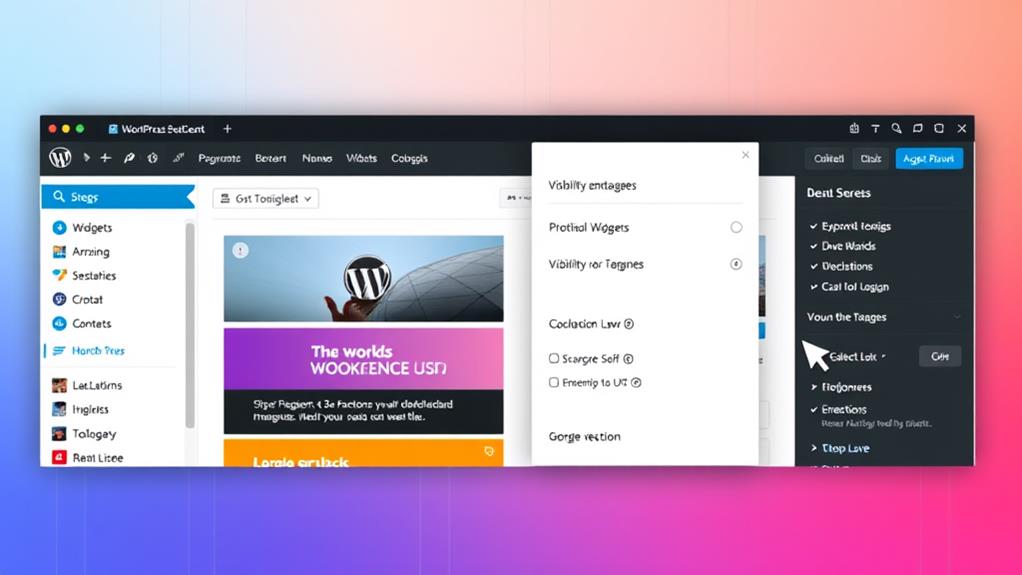
To customize widget visibility on your WordPress site, access the visibility settings. This allows you to control when and where widgets appear.
Follow these steps:
- Select Widget: Navigate to Appearance > Widgets in your WordPress dashboard. Choose the widget you wish to customize.
- Visibility for Legacy Widgets: Click the Visibility button to define conditions for displaying or hiding the widget on specific pages.
- Access Block Settings for Block Widgets: Select the block widget and click the settings cog icon in the top right corner. This opens the Block Settings sidebar.
- Configure Advanced Options: Use the Block Settings sidebar to configure advanced visibility settings based on criteria such as page type, category, and date.
Create multiple rules to manage widgets effectively.
Choose to match all rules (AND) or any rule (OR) based on requirements. This enhances control over content display.
Setting Up Visibility Rules
Configuring visibility rules for widgets on your WordPress site enables precise customization of the user experience.
Widget display can be controlled based on six factors: page type, category, tag, date, author, and taxonomy. Access these settings for legacy widgets by clicking the Visibility button. For block widgets, select the block and navigate to the Block Settings sidebar.
Multiple visibility rules can be applied simultaneously, allowing for intricate conditions governing widget visibility. For instance, a widget can be set to appear on category archives but not on search results pages.
Visibility rules can be configured to match all specified criteria (using AND) or any single criterion (using OR), providing versatile content management options.
Community Support and Resources

WordPress Community Support and Resources for Widget Customization
1. Support Forums: Engage with the community through forums. Seek answers, share insights, and get assistance from experienced users and moderators.
2. Developer Documentation: Access comprehensive guides tailored for all levels of expertise.
Essential for troubleshooting and enhancing your widget customization skills.
3. Issue Tracker: Contribute to the community's knowledge base by reporting documentation inaccuracies or proposing enhancements through the issue tracker.
4. Social Media Platforms: Connect with WordPress enthusiasts on Twitter, Facebook, and other social networks.
Ideal for seeking advice, sharing experiences, and networking with like-minded individuals.
Summary
Customizing WordPress widgets offers a straightforward and beneficial way to enhance your website. By installing, displaying, and arranging widgets, you can align them with your site's layout and objectives. Utilize text widgets to incorporate unique content. Adjust widget visibility settings to manage their appearance across your site. Engage with community resources for additional assistance. Customizing widgets enables you to create a more interactive and personalized website experience.